
The Learning Curve of Cutting
Cutting is a skill that many of us take for granted. And most of us have no recollection of the process it took to learn it. So, when we see our kids struggle or deprive them of opportunities to explore with scissors at a young age, we can hinder their success with it, and/or lead ourselves into frustration and anxiousness when they finally beg to try it.
But guess what? I have GOOD NEWS! It doesn’t have to involve a lot of stress or anxiety. I’m here to encourage you and teach you how to build up the necessary underlying skills in your child so their attempts, once scissors are introduced, might go just a bit smoother.

Pre-Cutting Activities
Sensory Bins
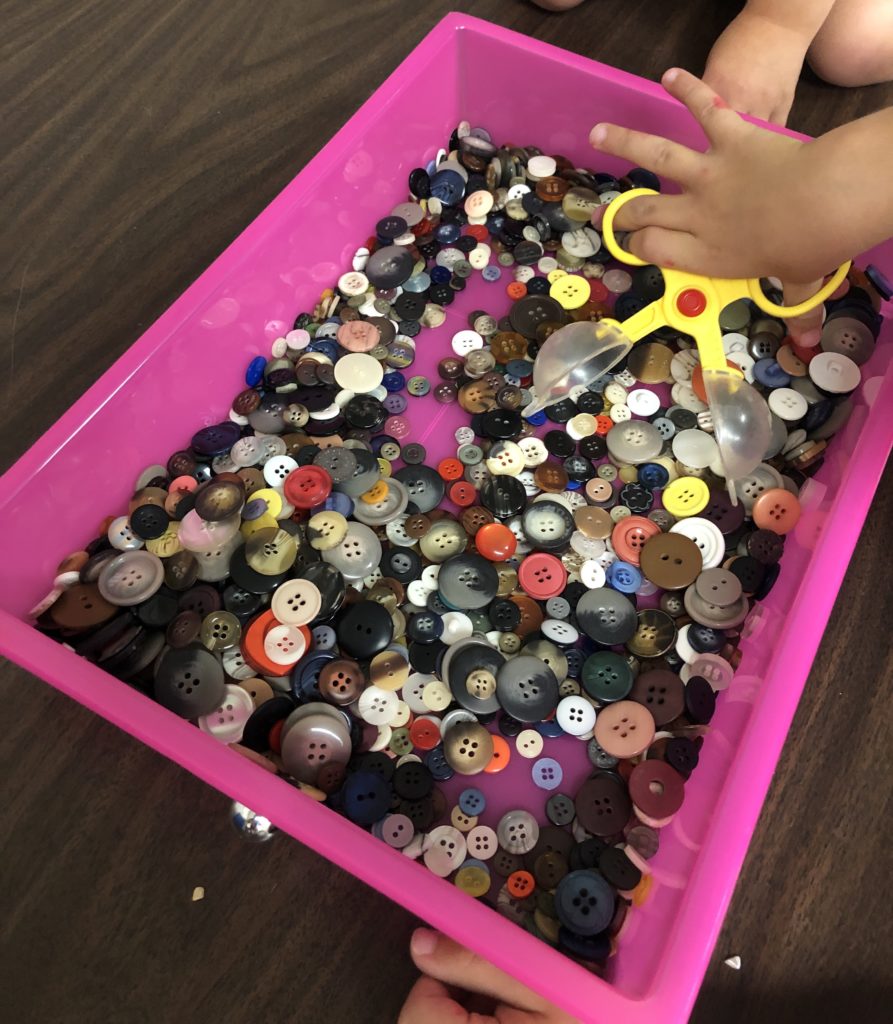
When I work with a child who has a cutting goal, I love having them dig, scoop, pour, etc. in a sensory bin first. Mine is usually filled with rice, but beans, sand, buttons, water beads, oats, dirt, etc are all great too! This pre-cutting activity targets several pre-requisite skills without even picking up a pair of scissors. Sensory play involves hand strengthening, wrist mobility, tactile discrimination, sustained attention, and more.
I always leave some bubble tongs nearby too! I love to watch how the kids pick them up and observe if they can figure out how they work (since they mimic the motor pattern of scissors!!). They are a great way for children to work on the open/close motion while eliminating the element of “danger” in the task.
Playdoh
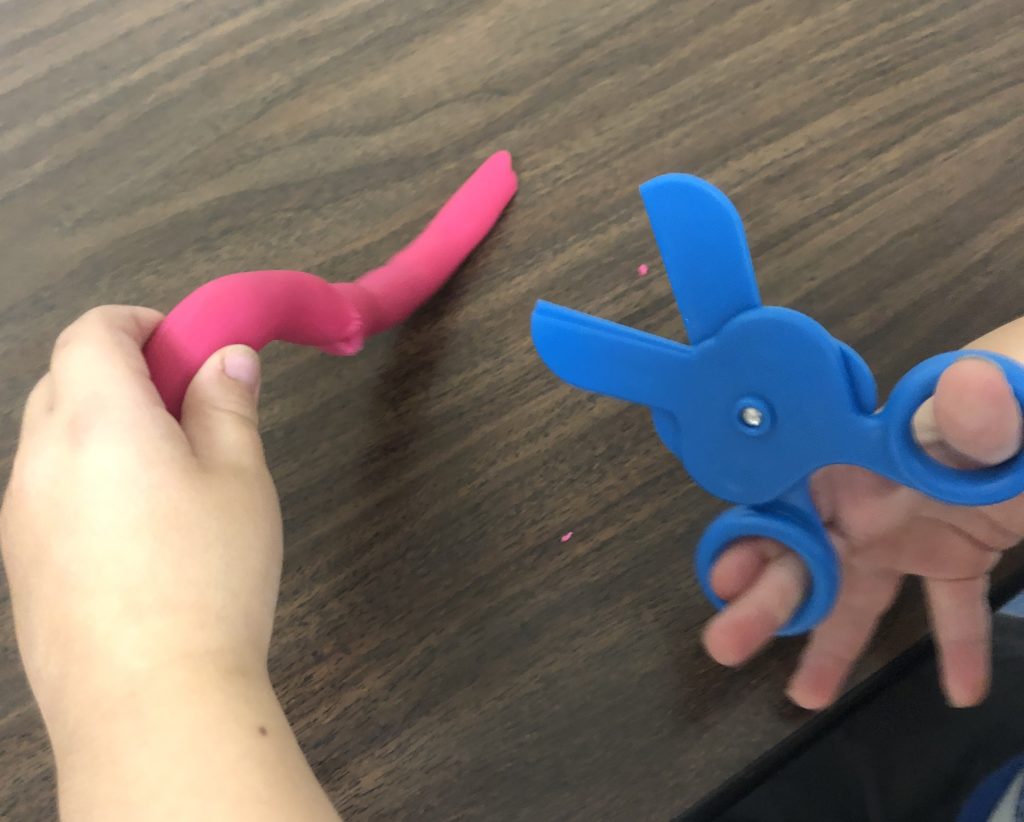
The next pre-cutting activity I expose them to is cutting playdoh. I start by having them roll the dough into a big long snake using two hands AKA bilateral coordination and “challenge” them to evenly distribute the pressure from their hands to make an even thickness for the length of the snake. They use a sense called proprioception, to properly grade the force or pressure used when rolling, which is also needed for cutting paper.
Once they have a snake, I ask for “equal pieces”. This targets a child’s visual discrimination or their ability to visually notice the difference between objects. Your child can use regular safety scissors or plastic/nylon “training” scissors for this. If you’re still not ready for that try a plastic playdoh knife.
Paper Tearing
Paper tearing helps kids build up their intrinsic muscles/palmer arches, wrist mobility, and even motor accuracy if you ask them to tear down a specific line. This is a very simple activity but one tip to encourage them is to tear with one hand pulling forward and the other hand pulling back, as their first inclination may be to pull apart at the sides which won’t work.

Practice makes Progress
Encourage your child to participate in these few pre-cutting activities over and over. When you begin noticing improved control when pouring rice from one cup to another or independence to orient the plastic scissors within their hand and manipulate them open and close, they might be ready to move on to the real thing.
But there’s one more thing to consider before your child is ready to cut paper; a critical step that a lot of parents and even many teachers forget to check.
Are they using the correct scissors for their dominance?
You want to be as sure as possible about their hand preference because using the correct scissors can make or break one’s interest and success with cutting.
“There’s a difference between left and right-handed scissors?”
YES! A BIG DIFFERENCE! When a child uses the wrong scissors two big and inconvenient things happen.
- when closing the blades, they contact the paper in a way that causes a bend or fold and sliding over the paper. This is caused by the incorrect placement of force on the handles.
- it blocks a child from seeing the line they are intending to cut; this is especially difficult when cutting shapes with multiple changes in direction.
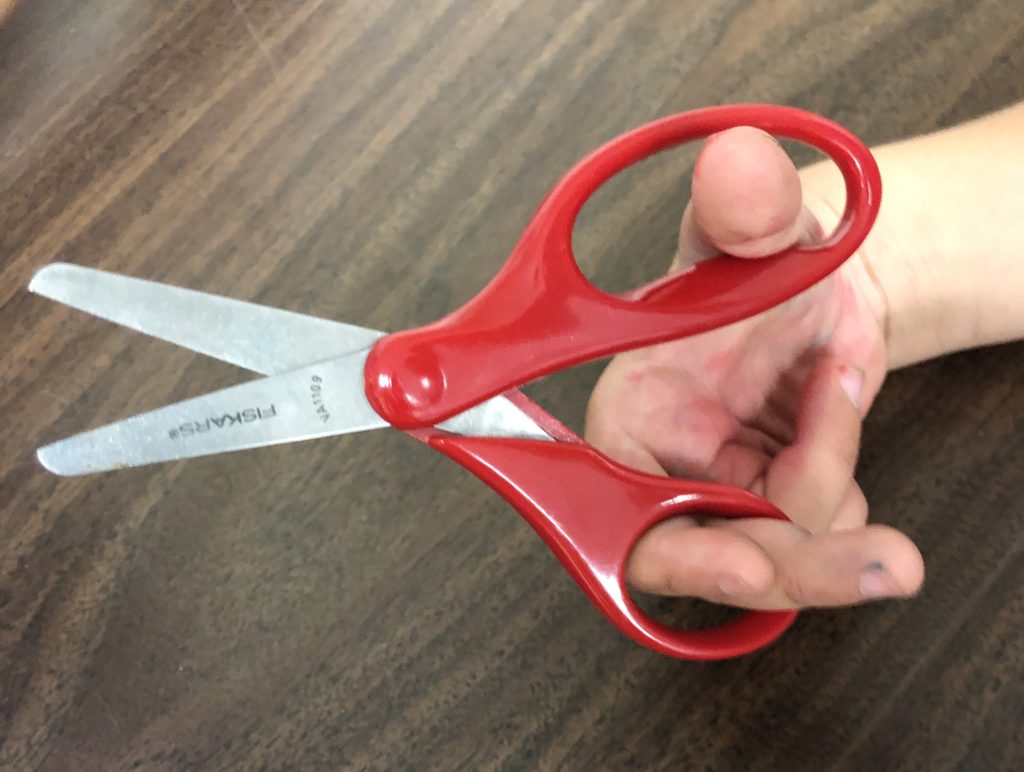
Check out the difference between these two pairs of scissors that look so similar. The outer blade which points up, indicates which hand it’s designed for.
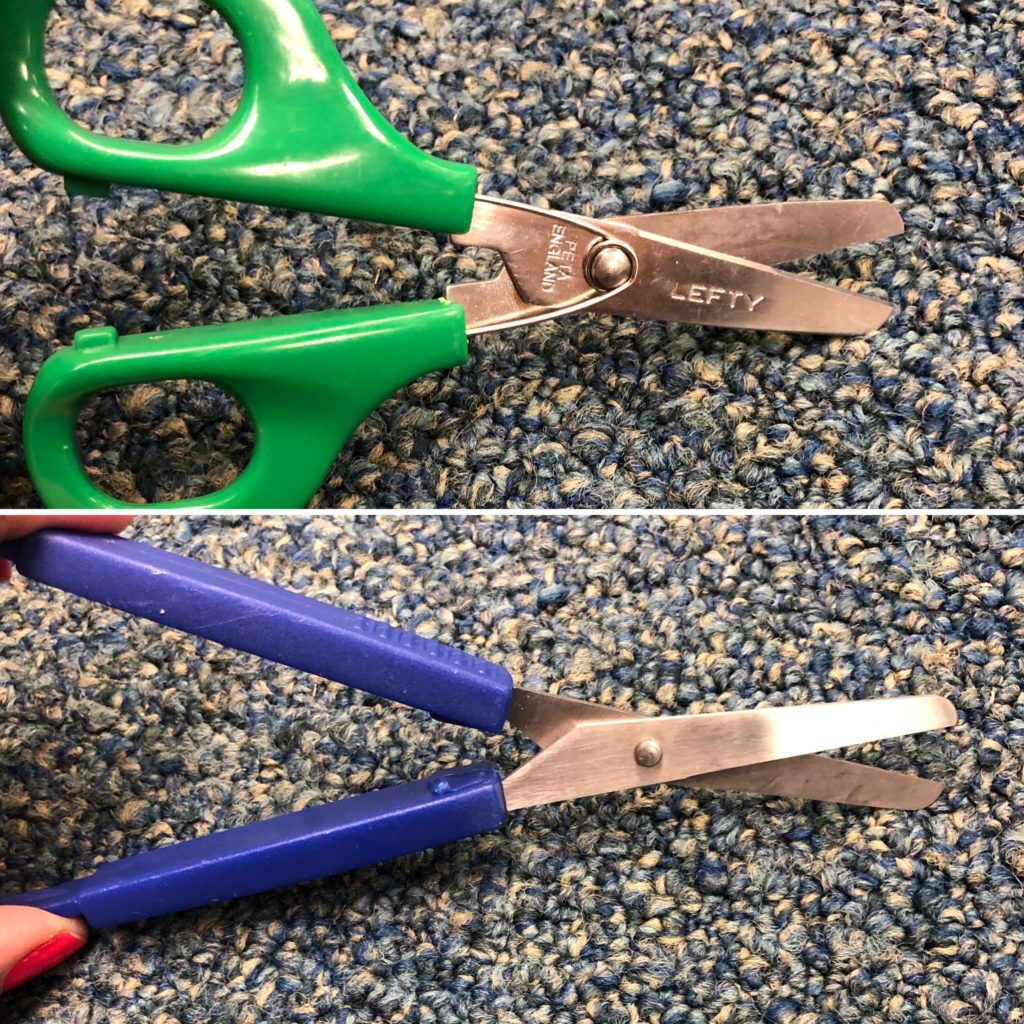
So once you determine their hand preference for cutting (it’s possible this may differ from their writing preference) always make sure your child has the correct scissors in all settings where cutting is expected (home, school, tutoring, therapy, etc.).
If you’re a caregiver or teacher, identify your left-handed students and double-check they have the proper scissors. Then don’t hesitate to share your observations with the students’ parents. This could alleviate many frustrations at home and quickly improve accuracy.
Other considerations
Motor Planning & Strength
Figuring out how to open AND close the scissors might be too much to expect right away. Try scissors that have a simple lever that quickly, conveniently, and automatically springs the scissors open. I particularly love these MAPED scissors because they have small holes for small fingers plus the option to spring open.
I always encourage a student to only place 2 fingers in the bottom hole as a way to improve side hand separation (important for pencil grasp development), and MAPED scissors only have enough space to allow the index and middle fingers.
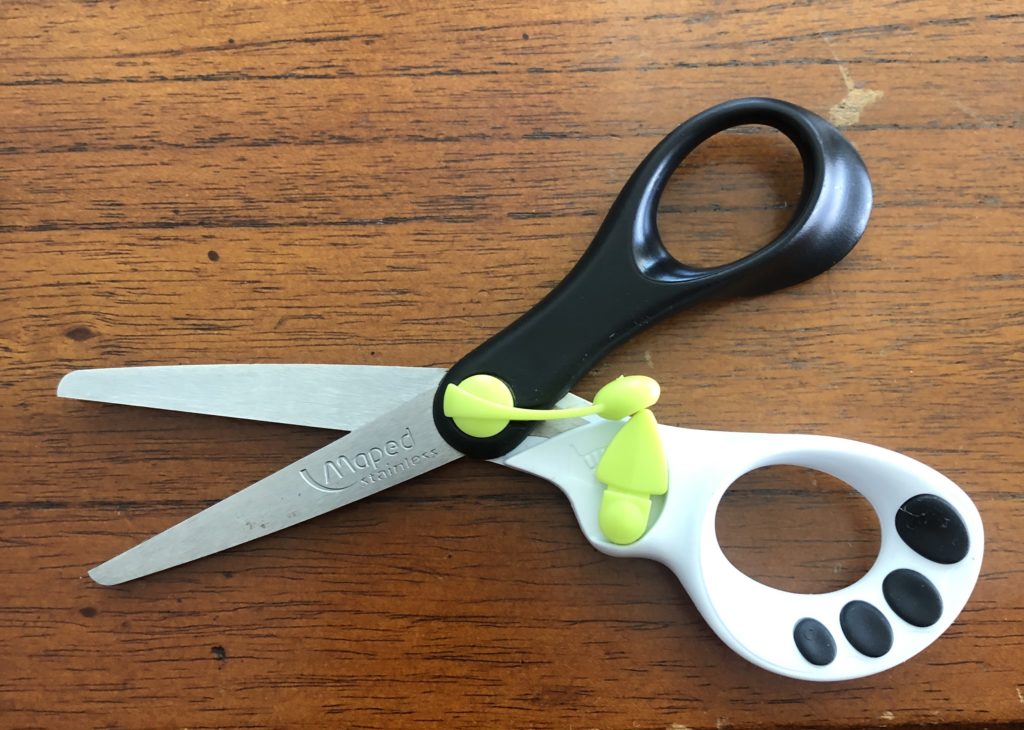
If you’ve just spent money on new scissors and your child seems to be operating them well but you still want to encourage the side hand separation, don’t fret; just flip those fancy little scissors upside down and ‘Voila’.
If you’ve tried all these pre-cutting tips and tricks and still need help, stay tuned for Part 2.
Leave a Reply