Are your students struggling to improve letter formation? Thankfully there are lots of ways brains learn and retrieve information and kinesthetic learning is incredibly effective. If you have students that have been having a difficult time retaining and producing proper letter formation, give these hands-on activities a try so they can solidify their letter formation once and for all.
Two big tips when using any of these ideas is
1) offer a near point example of the letter they will be working on, including arrows for them to follow the proper stroke sequence
and 2) if the particular idea does not already include “tracing” the letter with the pointer finger of the dominant hand (ex: rolling letters out of playdough), add on 3-5 repetitions.
26 Ways to Improve Letter Formation
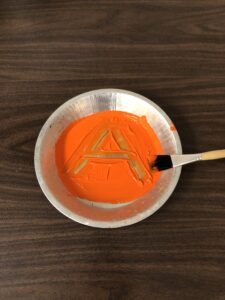
Paint
This can be done with or without a paint brush depending on the child’s sensory, however if the child does not have a proficient pencil grasp yet, it’s recommended to stick with using an isolated pointer finger on their dominant hand.
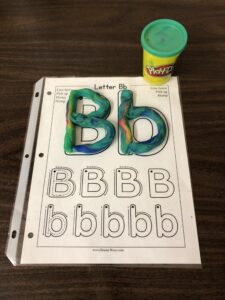
Roll out in playdough
There are many playdough mats out there that offer bubble/block letters as outlines for this method. This will support learning proper proportions because the child will use their visual perceptual skills to observe if a certain section is the right length/size.
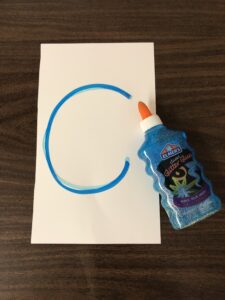
Squeeze glitter glue
This is the best form that glitter comes in because it’s STUCK in the glue! This can be done by writing the letters on paper (TIP: thick cardstock or construction paper is best) but again, it is import to have a visual model and/or step by step group instructions on proper letter formation. Squeezing glue is also awesome for hand strengthening and gradation of force (how hard to squeeze the bottle to get the desired amount of glue).
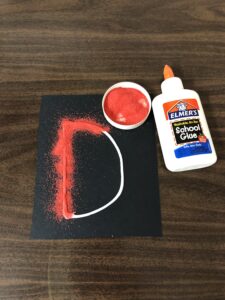
Sprinkle sand over the glue
This activity is very similar to using glitter glue, it just incorporates an additional step after putting the glue down (white glue is fine). Picking up small amounts of sand with pincer fingers supports fine motor strength and coordination.
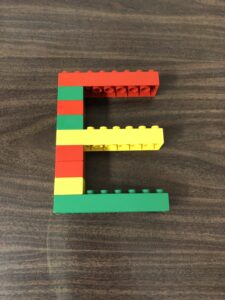
Build it from Legos
This is every kids’ favorite! You can’t go wrong busting out Legos in the middle of class. If you have a particular student struggling to come up with their own plan of which bricks to stack to create each letter, try giving them a pre-done sample, working with a buddy, or make them all yourself and print photos of what they look like for them to copy.
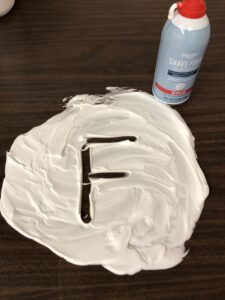
Shaving cream
My personal go-to (if the scent of the shaving cream isn’t too strong)! It’s easy. It’s “clean”. And it provides opportunity for tactile exposure. Even if they aren’t ready to touch it themself–they can easily participate by using a paint brush or squirting it in a baggy. They will still need to process the visual and olfactory (smell) input from it being on other students’ desks.
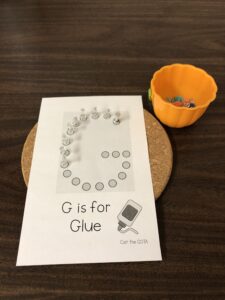
Poke Art with push pins to improve letter formation
Place a corkboard or trivet behind these awesome outlines made by Cait the COTA which come in uppercase and lowercase. This is an awesome activity to work on motor precision and improve letter formation.
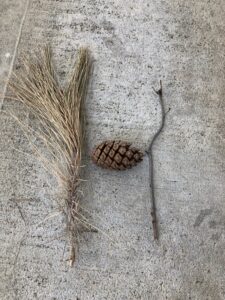
Use objects in nature
It’s great to get the kids outdoors when it’s not recess or P.E. Take the opportunity to go scavenge for materials and see which letters the kids can make with things found in nature.
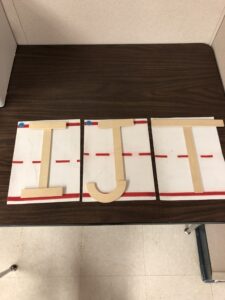
Handwriting without Tears wood pieces
Wood pieces are a simple yet effective learning tool to help students form uppercase letters. Their laminated cards make it simple for them to see and build.
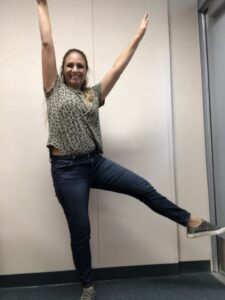
Manipulate their body into alphabetic shapes
Find out if your student can motor plan and contort their bodies into the different letters of the alphabet. Fair warning: most lowercase letters are incredibly challenging.
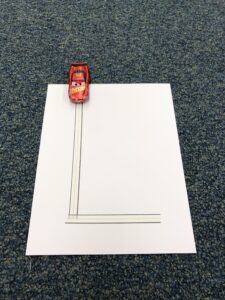
Drive cars
I use WooTape 1 to make letters look like roads that cars need to drive on. Automatic buy-in every time!
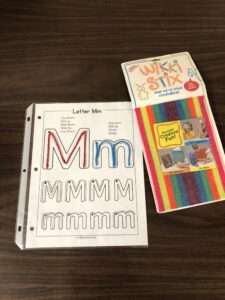
Wikki stix to improve letter formation
Wikki stix are so versatile in the classroom and easy to cut which helps kids get just the size their need for different lines and curves when working on proper letter formation.
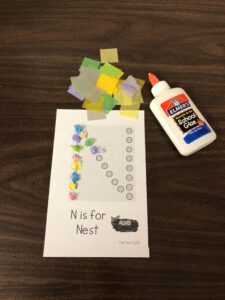
Crumple & glue tissue paper
I used the same printables as the push pin art and have the child work on fine motor strength and coordination to squish the tissue paper pretty small before gluing it on the letter.
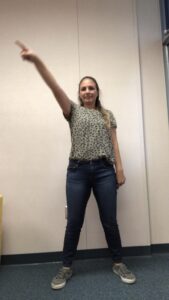
Air writing
ABSOLUTELY NO PREP! This can be done any day, any time. And I recommend it for practicing any drawing or writing task before actually putting the pencil to paper because it preps the brain for the proper letter formation and also warms up and strengthens the shoulder girdle which is needed for increased precision of pencil manipulations.
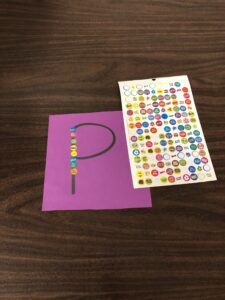
Peel and place stickers
Similar activity, different medium! Love these push pin printables!
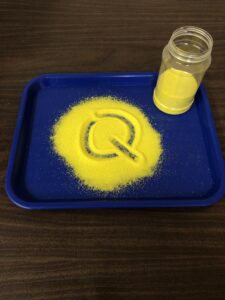
Sand or salt trays
This has to be the easiest setup. Use any cover, tray, or paper plate and pour some salt or sand. Voíla! A little contrast between the dish and the granules is best for the students to visualize the letters. I purchased several jars of colored sand from Michaels years ago and I notice when the student is able to choose what color to use, they are even more excited about the activity. This is the same sand you can sprinkle on glue.
Mini erasers
Every teacher’s obsession now has another functional use! 😉
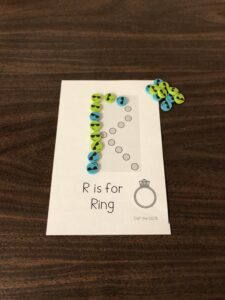
Erase on a whiteboard
I’m typically not a big fan of kids writing on white boards (unless using Dry Erase Crayons for increased feedback!) but using their pointer finger to slowly trace and erase the markings using proper letter formation is an amazing alternative which gives the hand a lot more information.
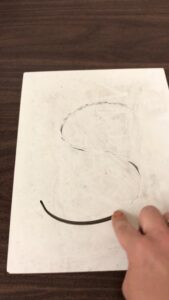
Dot markers
Dot…dot…dot! A fun and pretty way to work on letter formation.
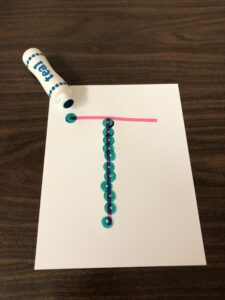
Sidewalk chalk
Sidewalks give a lot of kinesthetic feedback to the hand. I also like kids being able to work on letter formation on a larger scale.
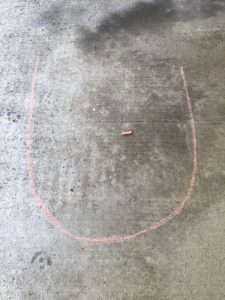
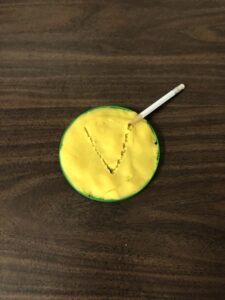
Clay or playdough tray with a wooden stylus
Depending how much resistance you want to create, smooth out some clay (more resistance) or playdough (less resistance) on a small lid. If you use non-drying modeling clay, you can store this for years for continued use–but playdough will, of course, dry out.
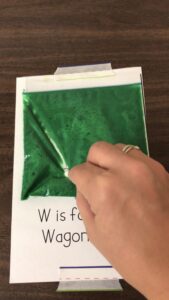
Gel or paint bag with q-tip
Watered-down paint bags are fun. Or try squeezing some hair gel in a baggy for increased feedback and be able to see through if a tracing card is required.
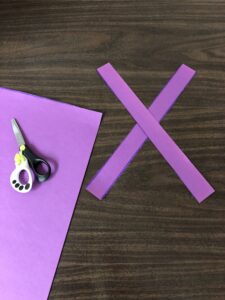
Cut and build
Cut out several lines and curves from cardstock then use them to build different letters.
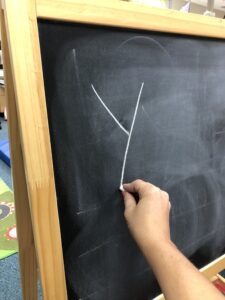
Draw on a vertical chalkboard
Vertical surfaces are always a winner in my book. Here’s a quick printable for how to incorporate them more in the classroom. Plus the great feedback benefits of chalk make this a simple activity.
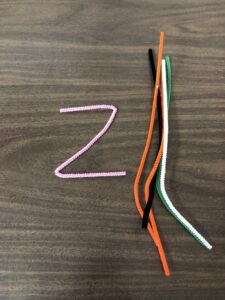
Bend pipe cleaners
This is a fun challenge for students to see who can form all their letters from one (or 2) pipe cleaners.


The kids love to use chalk!
Yep! And if I can’t take them outside to do it on the blacktop, I let them do “big letters” on the carpet, it totally comes up when vacuuming!
Use finger to trace letter in palm of non dominant hand.
Oooooh good one! Definitely need to try that this week. Thank you!
I love the feedback from forming letters on a clay plate!
SO MUCH FEEDBACK! Love it.
I love all these ideas! My favorite is adding glitter glue or using glue with sand. It sounds messy but very creative.
Yes…I think if the child is into it (no sensory sensitivities) the more memorable and engaging you can make the letter formation activities, the more it will stick with them! 🙂